Biting into a delicious chocolate truffle with additional melted chocolate dripping is an unforgettable experience.
For most recipes, you can melt chocolate using one of three methods: direct heat, a double boiler, or a microwave oven. Any of these techniques will work when a dessert recipe asks for melting chocolate with another ingredient, such as butter, coconut oil, or whipping cream.
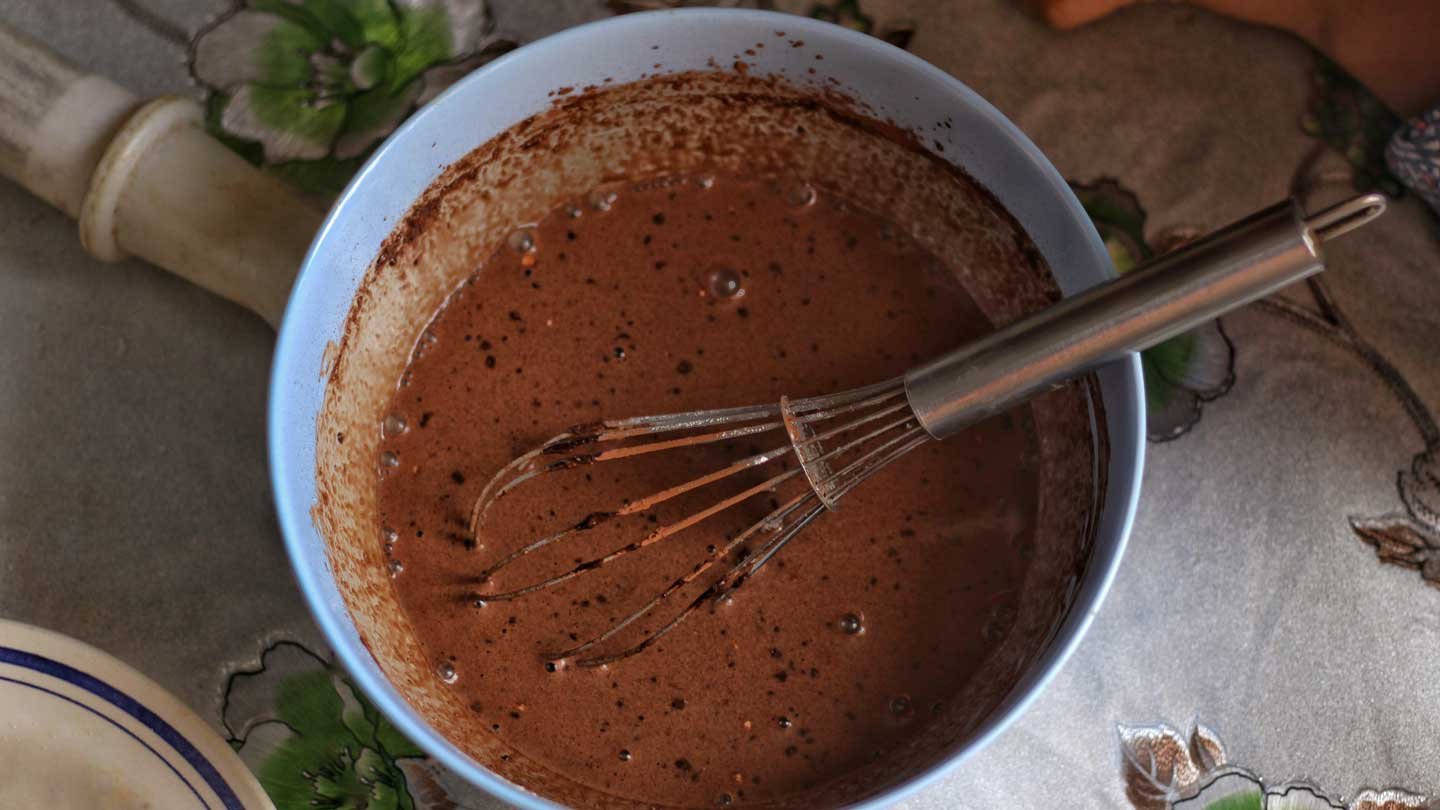
Grab a good chocolate bar or dark chocolate flake or a bag of chocolate chips and keep reading to discover how to melt chocolate for drizzling, dipping, and coating all of your favourite sweets.
Melted Chocolate: A Step-by-Step Guide
These techniques may be used to melt chocolate chips, bars, and squares. Before using these melting chocolate techniques, roughly cut bars and squares for the best results:
#1. Using A Stove For Chocolate Melting
This technique is simple and practical. In a large saucepan, melt the chocolate over extremely low heat, stirring until it starts to melt. Remove the pan and mix the chocolate until it is completely smooth.
#2. Using A Double Boiler To Melt Chocolate
This technique takes a bit longer than the direct-heat method, but it prevents the chocolate from burning. Fill the bottom of the double boiler halfway with water, leaving a 12-inch gap between the water and the upper pan.
Then, on low heat, put the double boiler. Stir the chocolate until it is completely melted. While the chocolate is melting, the water in the bottom of the double boiler should not boil.
#3. Chocolate Melting Using Microwave
Place 6 ounces of chopped chocolate chunks in a microwave-safe dish, custard cup, or glass measuring cup. Microwave, uncovered, on high for 112 to 2 minutes, or until chocolate is soft enough to mix smooth, stirring every 30 seconds or so.
Chocolate Tempering Techniques
Tempering chocolate is the process of gently melting and then carefully chilling chocolate. This helps stabilize the cocoa butter, giving the chocolate a glossy sheen and retaining its form.
- Start with chopped chocolate and 12 tsp. Shorten per ounce of chocolate in a medium dish; mix to coat chocolate with shortening.
- Fill a bowl with hot tap water (110°F) to a depth of 1 inch greater than the bowl containing chocolate. Place the chocolate dish into the heated water basin (water should cover the bottom half of the bowl with chocolate). As needed, adjust the water level (be careful not to splash water into the chocolate).
- With a rubber spatula, continuously stir the chocolate mixture until it is fully melted and smooth (this should take 20 to 25 minutes). Remove the dish holding the chocolate after the water has cooled. Remove the cold water and replace it with warm water, repeating the process until all of the chocolate has melted.
- The chocolate is ready to dip or shape after it has melted and smoothed.
- Allow your final result to air dry in a dry location. If you don’t cool your final product, the chocolate will lose its temper and become soft.
Whatever technique you use, make sure that all of your equipment is fully dry. The chocolate may seize if there is any moisture on the utensils or in the container. You can use them for chocolate decorations in anytime.